Get in touch with us.

647.496.3395

Get ready for a fast response :)

written by Jessica
written by Jessica

Explaining Engagement Ring Setting Styles & Engagement Ring Parts

Play Video

POV. Your ring journey is about to begin. There are SO many styles and you are getting intimidated. You have an abundance of saved pins on your Pinterest of potential designs. You don’t know where to begin.

We feel you, we got you. Sometimes it’s just about translating what you’ve been imagining into the right words. Let’s get you equipped with 3 simple tools to communicate your ring idea.

TOOL #1. USE THE THREE MAIN VIEWS

You will be referencing the three views of the ring a LOT as you describe your idea.
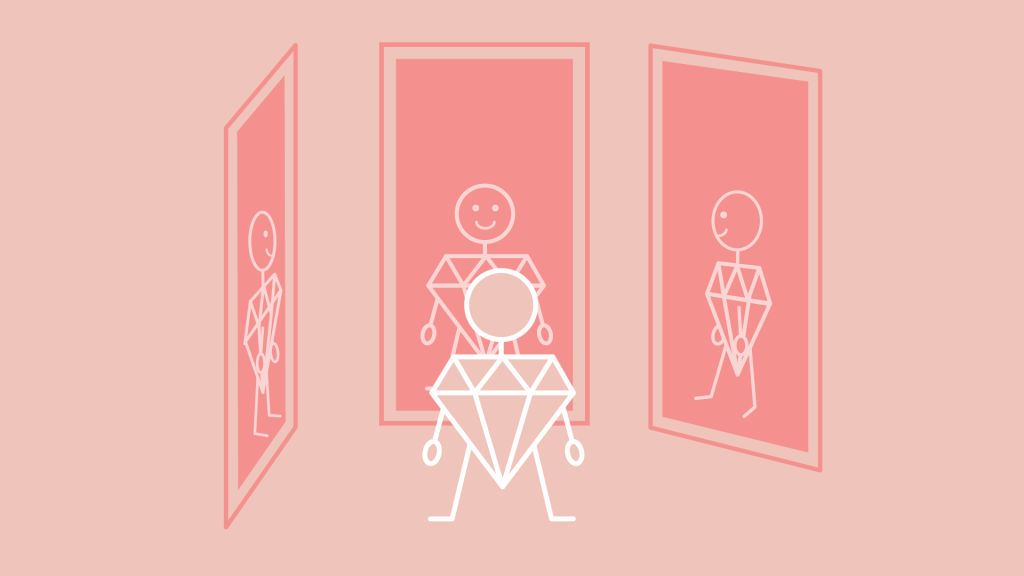
Illustration and personification of referencing a ring from three different views
Top Down View

Here we can focus on the prongs and the center stone.
Top down persepective of a ring, with compass illustration on the face of the diamond

Let’s use the oval stone as an example. The classical setting style would be to have the length at the north/south orientation (think of a compass!) but some of our clients like to have an east/west orientation so that the stone is set horizontally.
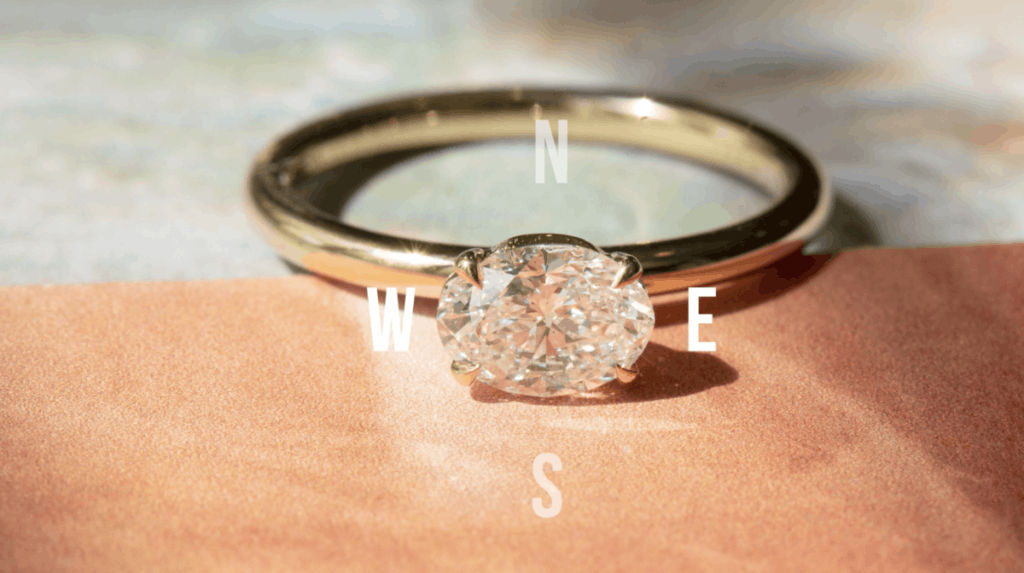
Horizontally set oval center stone set on a ring. N E S W directions labeled

Horizontally set oval center stone (length at east/west orientation)
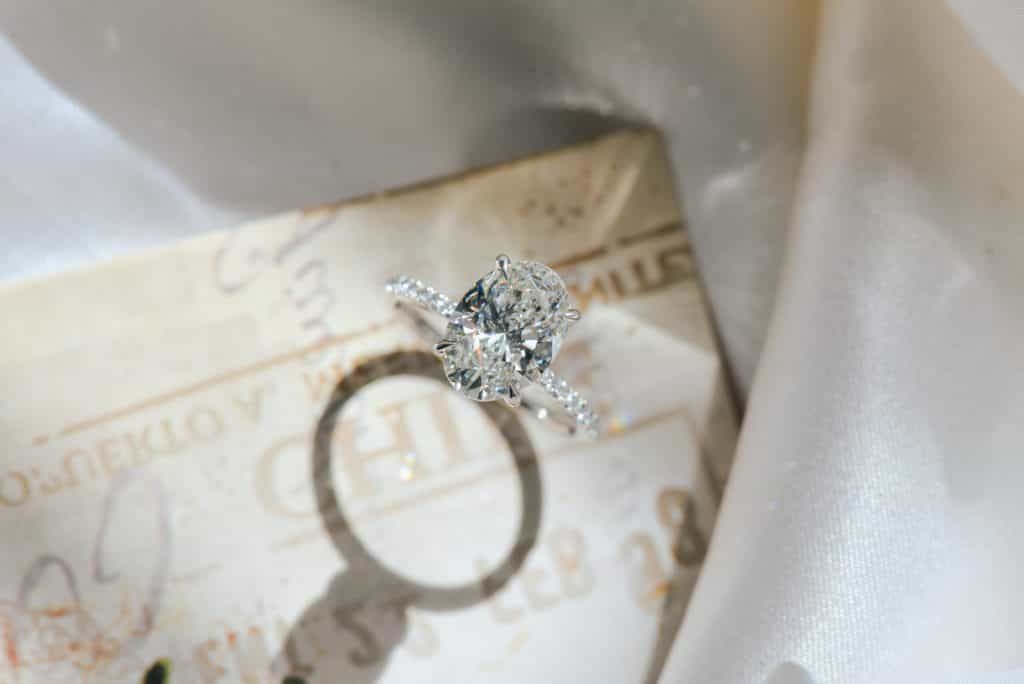
Oval center stone ring

Vertically set oval stone (length at north/south orientation)

You may have a preference on the location of where the claws will be. 

You could say something like: “Okay so looking at the top down view, I love the stone but I prefer the claws to be at the north east south west points.”

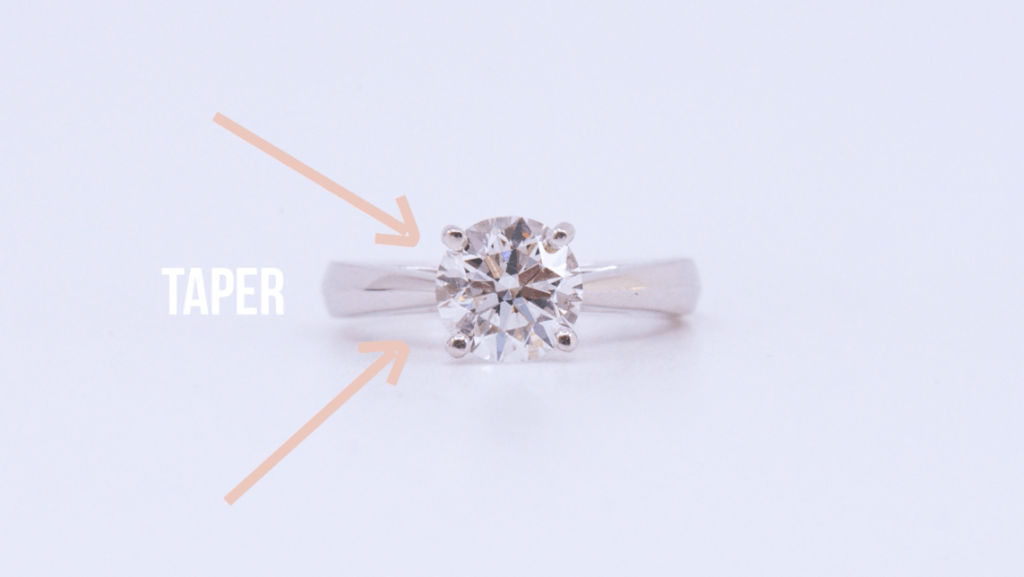
Or something like “At the top down angle, I would like the band to taper toward the center of the stone”
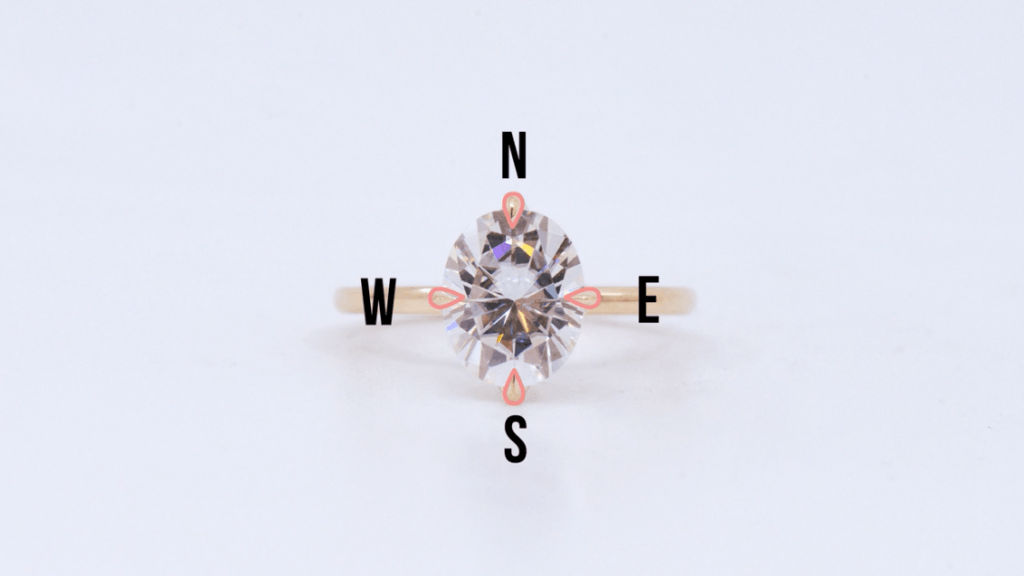
Top down view of a diamond ring, with north south east west letters indicating location of ring prongs
Top down view of diamond ring with illustration indicating tapering of ring band
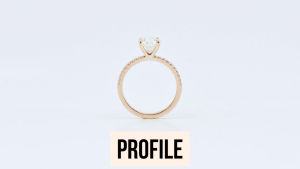
Profile View
profile view of a ring, with compass illustration on the face of the diamond

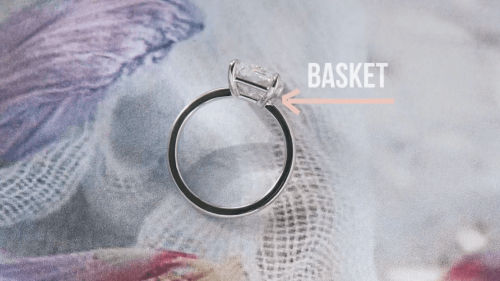
Here we can talk about the details of the way the stone is set. There’s the basket, the shoulders, even little details underneath the shoulders (look at those stars underneath!).
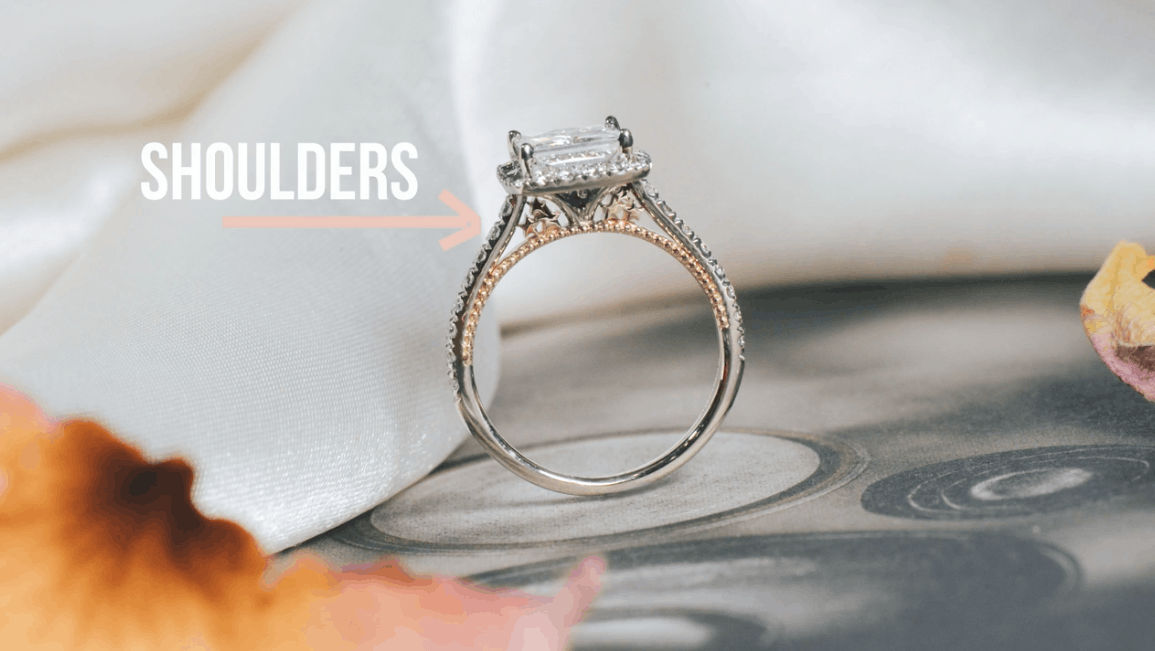
profile view of a diamond ring, illustration directing to shoulders on a ring
profile view of a ring with illustration pointing to the ring basket
Side View

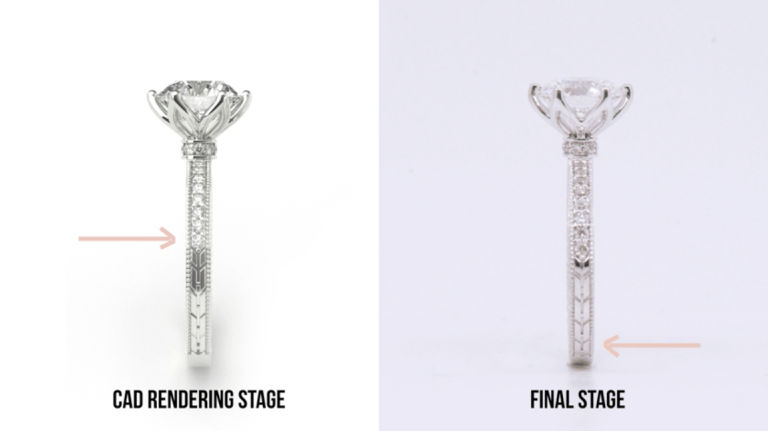
You might say “I would like stones going down halfway, and where the stones end I would like hand engraving from there going all the way down to the bottom.”
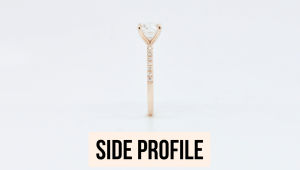
side profile of a diamond ring
double image of side profile diamond ring showing the detail along the side of the band

TOOL #2. WIDTH VS THICKNESS

Had to sneak that in here 😉

Width vs thickness has been a common source of confusion in ring terminology. Lets clear this up. 

WIDTH is defined by the side profile view.

Using width to describe your ring could sound like, “for width, I’d like it to be wider at this point, thinner toward the center stone”
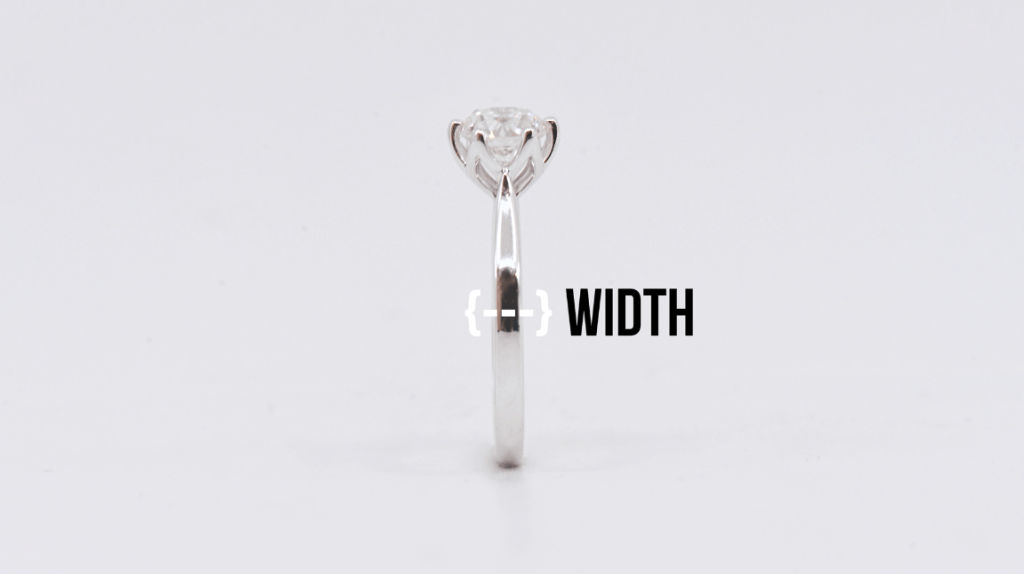
 

side profile of diamond ring emphasizing the width of ring band

THICKNESS is defined by the profile view. Think of it as the distance from the inside ring to the outside ring. 


You might say: “I’d like the thickness of the band to be the thickest at this part of the ring, and I want it to get thinner toward the bottom”
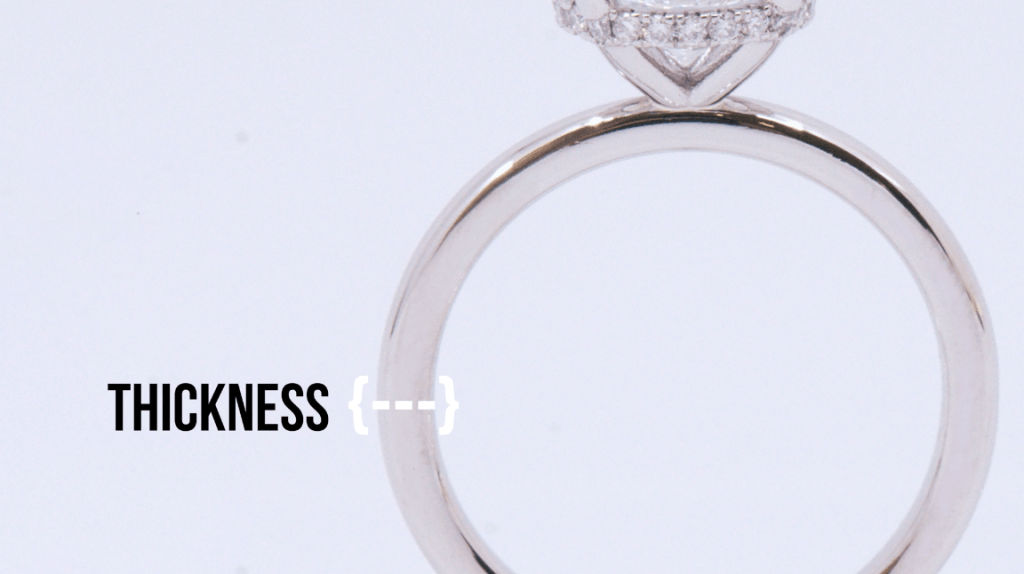
profile view of a diamond ring with illustration indicating the thickness of a ring band

TOOL #3. REFER TO YOUR RING AS A CLOCK

The embellishes and details on your ring is where you can get really playful and creative. Or maybe you want to add a not so obvious gemstone signifying your partner. The best way to place these designs with accuracy is to refer to the ring as a clock

Let’s say we want a “peek-a-boo” gemstone at three o’clock and nine o’clock. This gives us a super specific direction that we can take to everyone on production and all the jewelers on the bench.


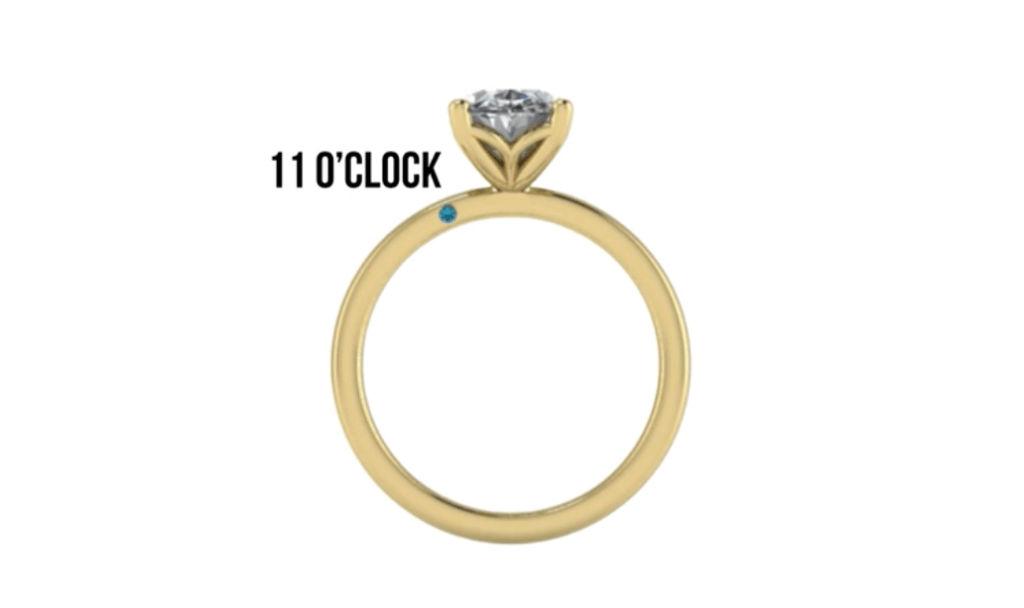
Here’s an example of a detail at 11 o’clock.
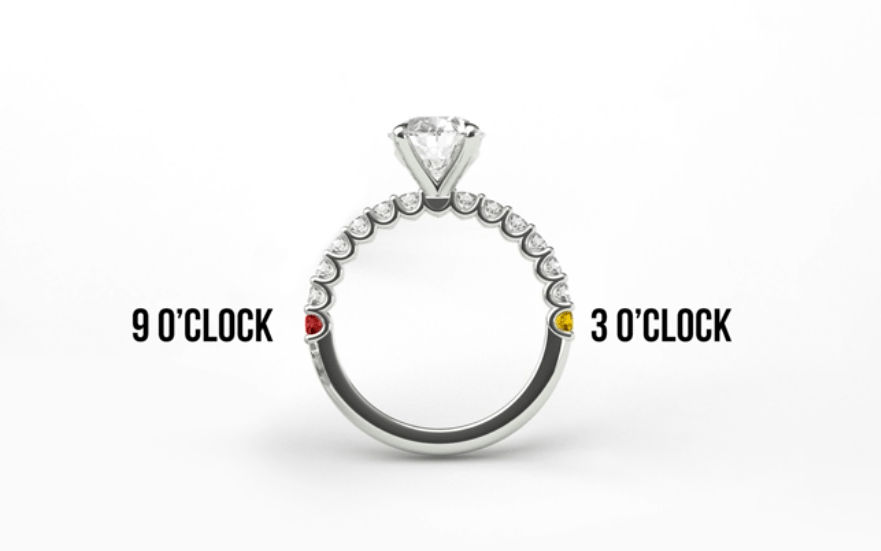
profile view with illustrating directing different peek a boo gemstones on a diamond ring
profile view of gemstone at 11 o clock on a diamond ring

This is an accurate and simple tool to ensure we get not only what you want, but in its perfect place. 
Simple right? You have the tools now… and our full blessing to go forth and work your ring designing magic with all the right ring language. We believe in you.

follow us online

Embrace the Adventure

Custom-made jewelry made easy by your Toronto jewelers.

Looking for custom engagement rings in Toronto? Your engagement ring (or wedding) ring-building process is a meaningful journey at Engage. You get to include the symbols, designs, diamonds, and gemstones characteristics that are important to you, your relationship, your family, or your experience. You are always involved in the entire design process at Engage Studio so that the finished piece reflects your unique style. With hundreds of styles to choose from and our team’s knowledgeable expertise, you will easily create a custom engagement ring or piece of jewelry for any intended occasion. Embrace the art of individuality with custom engagement rings in Toronto, where every ring is as unique as the love it symbolizes.

Unleash your creativity and superpower in-store or online by talking with a design consultant today!

Where?

565 Bloor St E, M4W 1J1, Toronto, ON
We truly can’t wait to welcome you to our NEW home!

When?

Mon – Fri: 10:00AM – 8:00PM
Saturday: 9:00AM – 5:00PM
Sunday: CLOSED

We are open Monday – Saturday by appointment only.

Please text, call or email us to book an appointment.

We are excited to meet you!

Trust Logos

Copyright © 2023 Engage Studio - All Rights Reserved

Get in touch with us.

416 491 6060

Get ready for a fast response :)

  • Let’s connect!

    We'd love to get to know you and find out where you're at in your journey

  • This field is for validation purposes and should be left unchanged.

your message has
been sent!

Thank you for getting in touch. We’ll contact you soon to get things started.